The Step By Step Of The Facial Masks
Facial masks never lost their popularity since the time they came on the market but are you using them correctly? In this article, we tell you how to use facial beauty masks correctly, to achieve beautiful and natural skin, with a simple beauty routine gesture, with which you will achieve a very healthy appearance on your skin.
What are face masks?
Facial masks are cosmetic formulas designed mainly to deeply cleanse the skin and free it of impurities. They are an essential part of your beauty ritual if you want to show off clean, healthy, natural and luminous skin, without the need for makeup.
They are intensive beauty treatments that aim to: cleanse, repair, nourish and restructure the dermis.
How are they used?
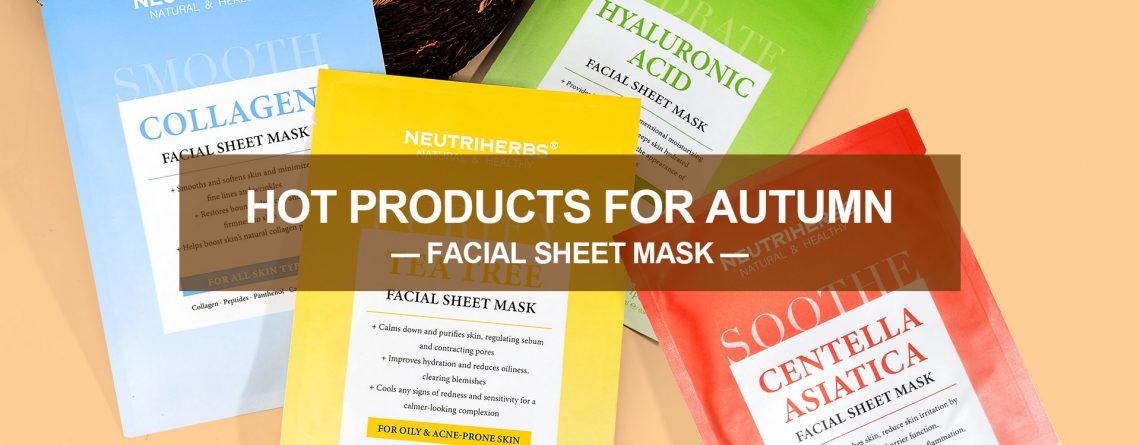
There are different types of facial masks depending on the needs of each skin: exfoliating, nourishing, repairing, purifying, moisturising, detoxing, and lifting masks.
STEP 1. Before applying the mask, the skin must be completely clean. Ideally, use warm water to help open the pores, to remove the largest amount of accumulated dirt in the first pass, but gently without irritating the skin. You can help yourself with a cotton ball, or even a cotton swab for the most difficult areas, for example under the wings of the nose, with a greater tendency to accumulate blackheads.
STEP 2. Apply the mask gently, with circular movements to activate the blood circulation of the face. The idea is to apply the mask with a brush with very soft bristles so that they do not harm the complexion. The only area that you should not cover is the eye contour, its texture is much finer and more delicate, therefore more prone to irritation.
STEP 3. Leave the mask on the skin for 5-10 minutes if it is an exfoliating treatment. Insist on the areas of the chin, forehead and nose (T zone) where more fat tends to accumulate. For nourishing and restorative masks, 15 minutes of treatment will suffice.
STEP 4. Remove the mask with warm water, and when you have removed all the product from the face, finish with one last pass of water, but this time very cold to help close the pores more quickly.
STEP 5. To finish, you can apply essential oil to the skin to prevent redness and irritation. If you have used an exfoliating mask, rosehip essential oil helps to naturally heal and repair the skin with care and speed. For nourishing, purifying and moisturising mask treatments, the ideal is to finish with a beauty serum, to enhance the effects of the mask throughout the night. In the morning, apply your daily facial moisturiser as usual.
How Often?
It is advisable to know your skin type to establish a monthly beauty ritual according to your needs. It is usual to do:
-2 soft facial exfoliators per month. The shower moment is ideal: the steam helps to open the pores and remove the impurities. It will be easier for you.
– 1 nourishing mask per month, as an intensive treatment to your usual daily moisturising cream.
– 1 purifying mask (to control excess oil) and/or anti-stress (with essential oils to calm and relax dry skin, especially in winter) per month.
These are the “friendly” ingredients for the needs of each skin:
To reduce pores, control excess oil and remove blackheads-> Pineapple, grape, passion fruit, green tea, rosemary and lavender extract.
To relax and calm the skin -> Essential oils of mandarin, carrot, cypress, rosehip, and citrus essential oils.


